Oh hey! How are you? I hope you’re well. The weather is warmer, we’re nearing the end of tree pollen season here in Niagara, and it’s nice to enjoy warm fresh air without the sneezing again.
Today I wanted to share with you a colourful little process I used recently to punch up my plant hangers. Our spider plants in particular have been sprouting babies like wildfire, if wildfire could sprout babies. If you’ve never had them, you should know spider plants are wonderfully hardy, cat-friendly options. And within a few months you might end up with 10+ of them, even though you started with just two. [In fact, I wrote a post about cultivating your own spider plants here!] I ran out of shelf space a while ago for my plants and got full on obsessed with plant hangers.
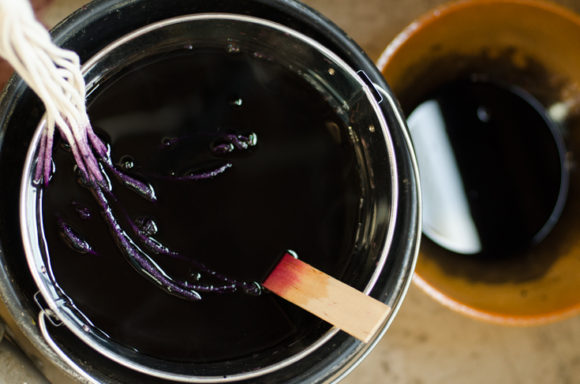
Warning: This post contains excessive accent-aigus. I.e.: é
We got our first couple of jute plant hangers off of Amazon, but I was surprised to also find some basic, “that’ll do”-style cotton macramé plant hangers at Dollarama one day when I wasn’t really looking. They were $3 each and pretty basic.
I decided to experiment with dip-dyeing because I like the ombré look and I like unexpected pops of colour (though I think an ombre black would look great too)!
You can use Dollarama plant hangers for this project if you can find them, or you can use any macramé plant hangers you might have that are white/natural coloured and cotton!
Word to the wise: Cotton will dye wonderfully. Jute/twine macramé hangers like the first ones we had, however, will probably not work for this project.

Materials:
- Rit liquid dye [I used Fuchsia and Denim Blue to make 3 different colours!]
- Cotton macramé plant hangers [Dollarama or this pretty 3 piece cotton hangers set]
- Table salt
- A pot of hot water for each dip-dye job
- A clean bucket
- Stir stick
- Rubber gloves
- Something/somewhere to hang your macramé hangers from while dyeing them [Optional, but it helps prevent slipping and sliding]
- A bowl to transfer your dyed hanger to a sink for rinsing
How to dip-dye your plant hangers:
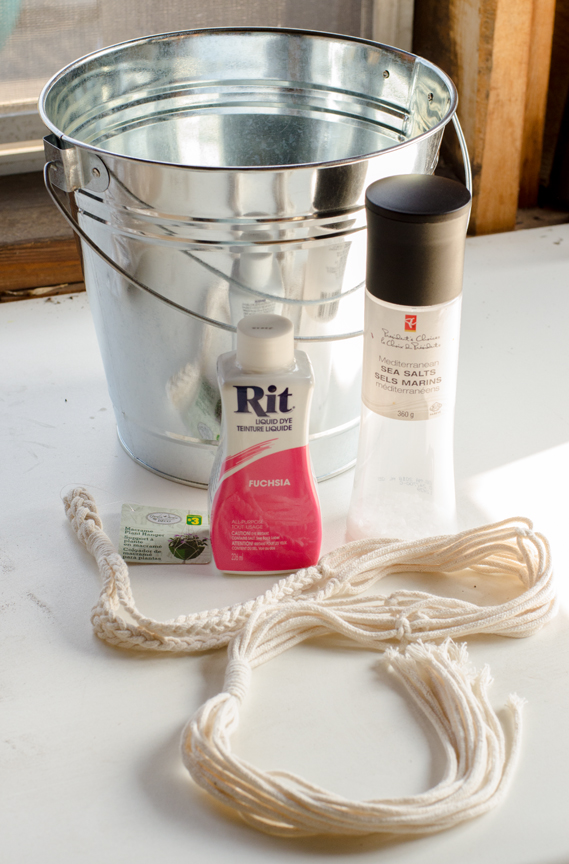

1. Wear gloves. Pour about half a bottle of Rit dye into your clean bucket, then add a generous amount of table salt. Stir with stir-stick until mixed.
I didn’t have much salt left that day, so I think I used a few tablespoons. I believe this helps set the colour but don’t quote me. Oh yeah, and DO NOT add hot water yet.
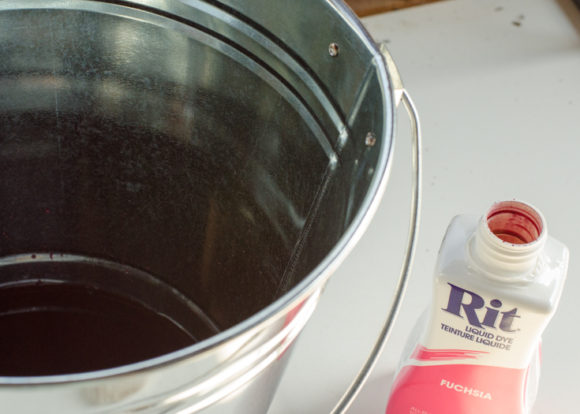
2. Soak your hanger with clean water, then dip the bottom ‘tails’ of your plant hanger into the Rit dye and salt solution.
You can dye with your hanger dry or wet. I liked the wet results better, personally.
After soaking it with water, I dipped the lowest 6 inches or so, pressing them into the dye using the stir stick so that they were saturated with the dye/salt mix. Leave this for as long as you like to get a rich, pretty colour. This will be the darkest part of your final product. I left it for about 25 minutes and did some yard work while I waited. I’d suggest at least 20 minutes for this part.

Tip: If you can, hang the hanger from something at the appropriate height to keep the ropes from moving/slipping into the bucket.
3. Add hot water and gently stir to mix.
Pour hot water into your bucket with the dye/salt mix, filling it about 6 inches from the bottom. This will bring your dye up another 6 inches as well, in a diluted solution. Your lowest ‘tails’ of the plant hanger will already be quite intense, so this will dye the next bit of your plant hanger (6 inches or so, to be approximate) a slightly lighter shade.
Press this length into the dye solution with your stir stick to ensure the ropes are saturated. Leave this for at least 10 minutes, making sure the tail ends are still underwater.
4. Lower the next length into your solution.
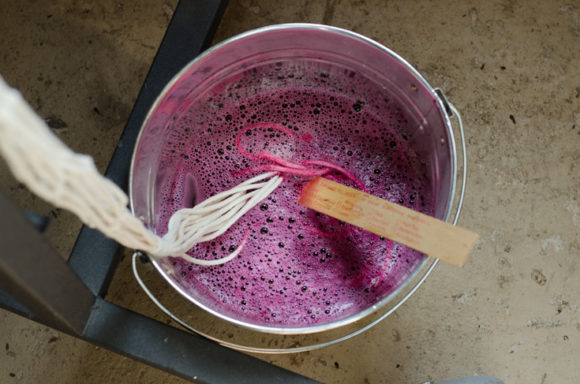
I lowered by an even amount each time, but you don’t need to. Lower it by, say, another 6 inches. Leave this for no longer than 5-10 minutes. Again, be sure to press your tail ends underwater with the stir stick so they’re still nice and saturated.

Oops. This got messy. Be sure your bucket isn’t a leaker first! If you find out too late like I did, place another container underneath it.
5. Repeat step 4 if desired once more, for a very short time.
Lower a slightly shorter length (if you’ve been doing 6 inches, try 3 inches) into the dye solution in your bucket. Leave for 5 minutes max, then transfer your hanger carefully to a bowl to bring it to a sink for rinsing.
6. Rinse your plant hanger.
This is where the magic happens. Or, where the magic is fully recognized, I guess.
Holding your plant hanger straight up and down from the top, rinse the length of it with warm water. This will rinse excess dye out and the heat should help to set the colour.
When the water runs clear, rinse out your bowl and transfer the plant hanger in the clean bowl to somewhere you can safely hang it to dry.
7. Hang to dry.

Done!
8. Put a pretty plant in that hanger!
That’s that! You’ve really done it!
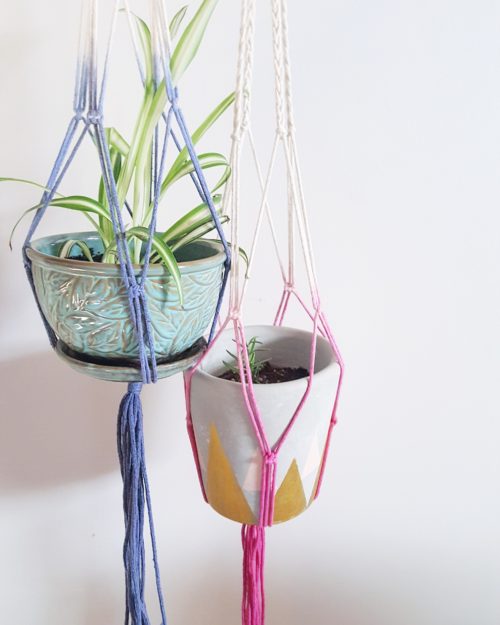
Extra tip — Mixing colours:
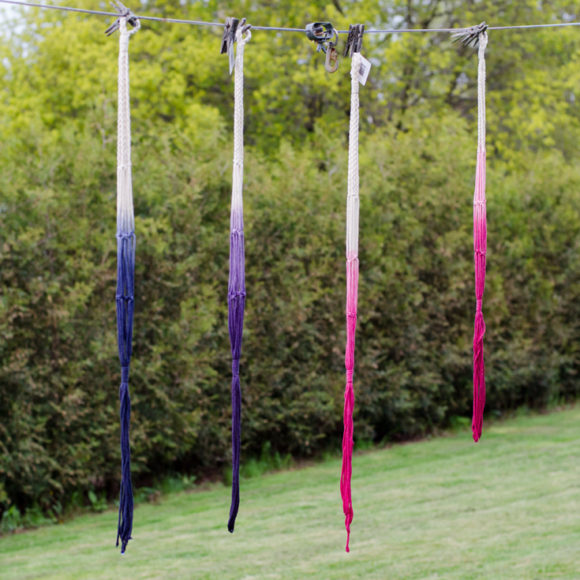
I mentioned earlier that I made three colours using Fuchsia and Denim Blue liquid Rit dyes.
So basically, I did this process 4 times, making 2 pink plant hangers, then 1 blue from a Denim Blue batch, then 1 purple, when I stirred the remainder of my Fuchsia Rit dye bottle into the hot water/Denim Blue mix.
For the purple, since I was already using the hot water, it didn’t sit in dye/salt alone at first, but I let it sit longer the first dip (about 35 minutes) and it still turned out a very pretty rich purple!
So really, you can dip-dye in a variety of ways, and use varying times and lengths. These just happened to be mine, and I loved the results. It’s pretty fool-proof, and actually a pretty fun experiment for a weekend afternoon!
—
If you’re interested, please check out my post about how to cultivate and re-pot baby spider plants. It’s easy, easy, easy, even if you feel like a plant killer on the best of days. These are hardy plants, which is probably why they do so well in our house. You can keep ’em or give them as gifts. And since they’re non-toxic, they’re perfect housewarming plants for people with pets!
I love my new ombré plant hangers. They add that cute splash of colour in a neutral room and they feel summery and fresh.
What do you think?


Simple yet creative. Would really give this a try. Hopefully, I can do this on my weekend diy activity. Thank you for sharing, I love it!
Thanks Esther! I had a lot of fun doing mine. Hope you love your end result too!
I was trying to keep the dye from bleeding to far up the hanger. Is there a way to control how much of the hanger will dye?