Not long ago in my post about making cute ombre plant hangers I mentioned my love for spider plants. Well, today I’m going to finally make good on my promise to teach you how to cultivate baby spider plants and grow them into big mama spider plants!
Spider plants are excellent air purifiers, removing up to 90% of formaldehyde from the air. The fresh air provided by a spider plant promotes better sleep, so they’re great to keep in your bedroom.
The reason I chose spider plants over other air purifiers, though? They have the added benefit of being non-toxic for our kitties! [Note: That may not stop curious cats from biting the long leaves, but at least we know it’s not going to hurt them.]

Okay, so the one in the middle is an aloe. The other two are spider plants I’ve managed to grow from baby plants!
So yes! You can grow them and it’s really, really easy. Soon, like mine, your place will be brimming with houseplants and you’ll be giving them as housewarming gifts, host or hostess gifts, parting gifts, teacher gifts, gifts for no reason at all… 😉 And so forth.
You don’t need a green thumb to grow new spider plants from their spider plant babies (also known as plantlets). If you already have a plant, you’re on your way. If not, pick one up today from your local garden centre and you’ll be cultivating in no time.

Materials:
- Spider plant that’s shooting off plantlets
- Glass bowl/short, wide vase of water OR a pot of soil (your choice)
- Scissors
- Rubbing alcohol & cotton ball (sterilize your scissors with this before cutting)
- Small planter full of soil
- Small rocks (if your planter has no drainage hole)
How to grow baby spider plants:
Method 1:
1. Find a plantlet forming on your spider plant. It will look something like this.
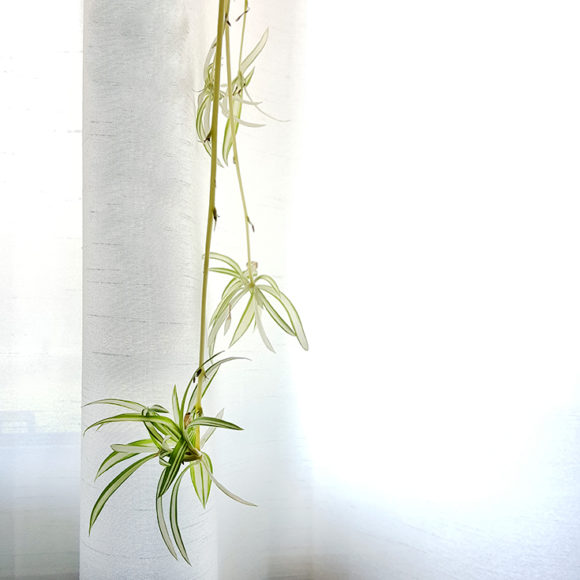 2. Choose a pot with a drainage hole, or add small rocks to the bottom of a pot without a hole; this helps to keep soil drained. Top with soil and place near a ‘mama’ plant.
3. Leaving the plantlet on the mother plant, plunk its baby ‘butt’ into your pot of soil nearby.
4. Water whenever the soil is nearly dry until it establishes roots. (You can check this with a very light-handed ‘tug’.) This usually takes a couple of weeks.
5. Cut off the shoot. Voila! A little spider plant, ready to grow up and out! Continue to water when soil is dry about 2 cm down.
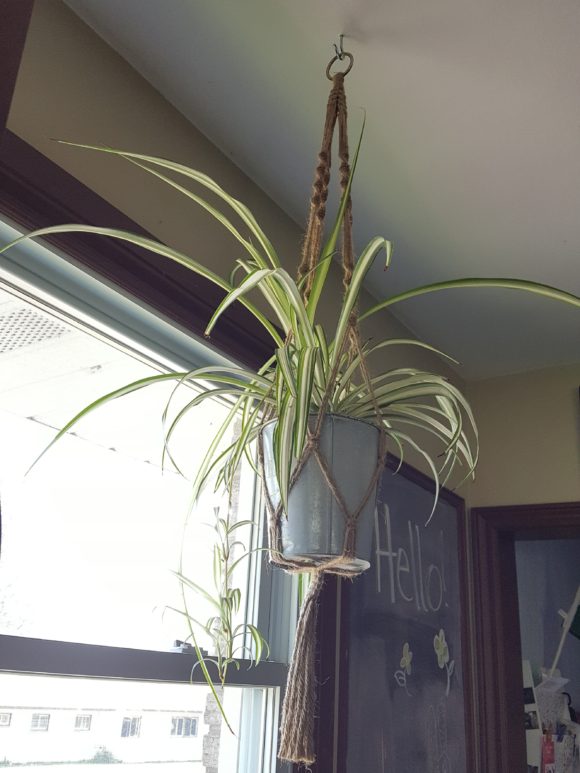
Method 2:
[Note: This has worked better for me, for whatever reason. The one baby spider plant I grew in soil one is forever stunted, but I’ve grown at least 5 good sized plants since March with this second method.]
1. Pour about a centimetre of water into a short glass bowl or a short, wide vase.
2. Cut the plantlet from the plant and place the baby plant’s ‘butt’ in the water. You will notice little nubs that will eventually become roots after about 2 weeks.
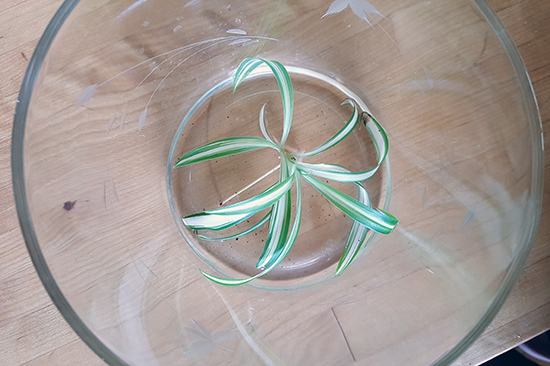
Not too much water at the bottom or else the leaves will dip in and rot. Try to keep the plant ‘butt’ as I call it situated in the water.
3. Add that bit of water back into the bowl/vase as needed, keeping the plantlet in good light. Wait about two weeks to see some good roots sprouting, cleaning off any slimy junk that may grow on your roots along the way.
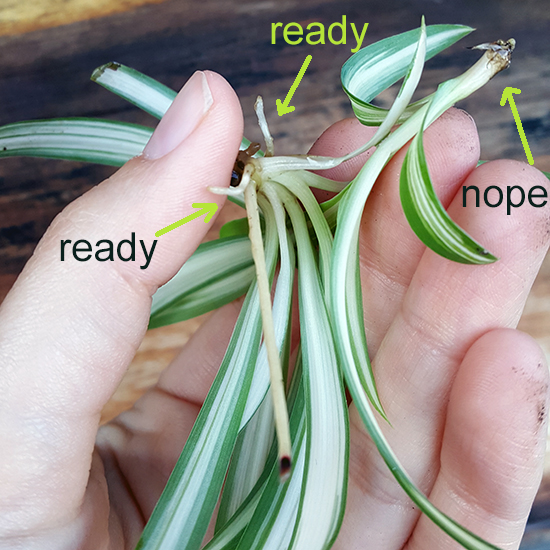
4. Ensure there is either a drainage hole in the container of your choosing, or add small rocks at the bottom for drainage. Top with soil. Transplant your new little spider plant and water well! Continue to water your plant when soil is dry 2 cm down.
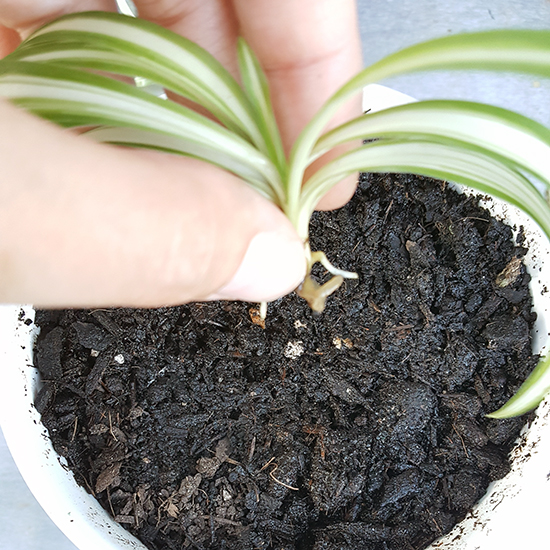
Bonus tip for coffee addicts: Add a bit of your used coffee grounds into the water or soil once your plant is established. This will make the soil slightly acidic, which spider plants thrive in!
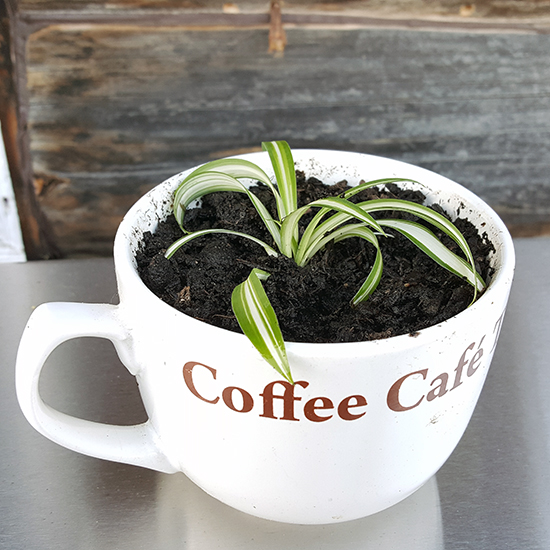
Soon your windows and shelves and plant hangers will be overflowing with these aptly-named plants, and your heart will be happy.
Thanks for reading. If you enjoyed this post, please consider spreading the love! You can share this post using the buttons below so that your friends, family and followers can grow their own spider plant families too. You can also Pin it for your own quick reference later if you like.
Thanks for reading. Happy planting!


I love Spider plants, they are the only indoor one that I can seem to grow, maybe its because it doesn’t need alot of looking after, I forget to water them
The Gardening recently posted…Spider Plant – All you need to know
Yes! Same!