What to do when a baby isn’t out yet? I decided to make use of our remaining free time — a lunch date here, a sewn diaper there… a plush toy or two. When it comes to materials, I’m a huge fan of using what you’ve got, so I was thrilled to find a sewing project for the bub that I could make using old graphic tees that didn’t fit anymore.
Newborn babies have to have soft, adorable hats, right?
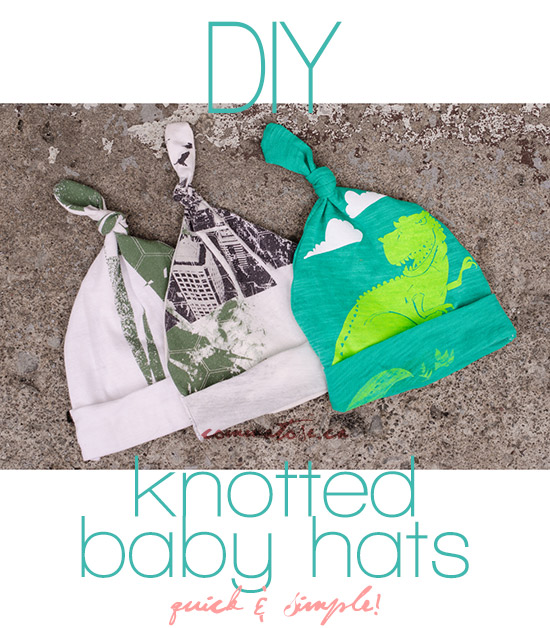
I first saw these hipster kid-looking hats on Miss j Handmade and I really, really wanted to make some for our boy.
I didn’t have any cute chevron, deer or otherwise trendily printed shirts, but we have lots of graphic tees sitting in the no-good pile (either due to a small hole or a twisted seam, etc). So I set my sails to the seas of Pinterest and found a great tutorial from Dear Lizzy.
You can follow her instructions and use the pattern provided. The hat looks huge in that pattern, but I chose fit-to-page in my printer settings on 8.5″x11″ paper and it made a good 0-3 month old sized hat. My own process for how to upcycle t-shirts into baby hats is below!
Before I continue, this post contains a few affiliate links to products I have used and trust. Please note that I may make a small commission (at no added cost to you) if you make a purchase using one of those links. These small earnings keep my site alive. So if you’ve made a purchase on my recommendation, my site and I thank you!
Materials:
- Pattern
- Old graphic tee(s)
- Rotary cutter and cutting mat or fabric shears
- Ballpoint pins
- Sewing machine (beginner skillz)
- Ballpoint needle for jersey fabric
- Coordinating thread
How to make a knotted baby hat:
For the most part I followed the tutorial given on that blog, but I used the whole pattern length, whereas she used the hem of a t-shirt instead of using the last part after the dotted line, I think. (See the pattern to make sense of what I’m saying).
1. Line up the pattern with the coolest looking part of the shirt in the middle, remembering that the long goofy part at the top will be knotted and the design won’t be much seen there.
2. The easiest way to get both pieces is to cut the two pieces at the same time on an inside-out shirt. Usually you can still see where the design you want is from the other side — if not, you can cut the shirt right-side out, then flip both pieces and line them up after. I love my rotary cutter and cutting mat for curvy projects like this — they’re the two tools I use for nearly every craft.
3. After cutting, make sure the right sides are facing each other and lined up. Pin the two sides and the long top part, leaving the bottom part alone.
4. Backstitch, then sew the edges with a zig-zag, finishing with another backstitch. Then, do a straight stitch around the perimeter of that to reinforce. Backstitch again to lock the thread. If you’re new to sewing, always backstitch at the start and finish of every line of stitches you sew. I always forget to mention it, so I’m mentioning it here and hoping someone sees it. 😀
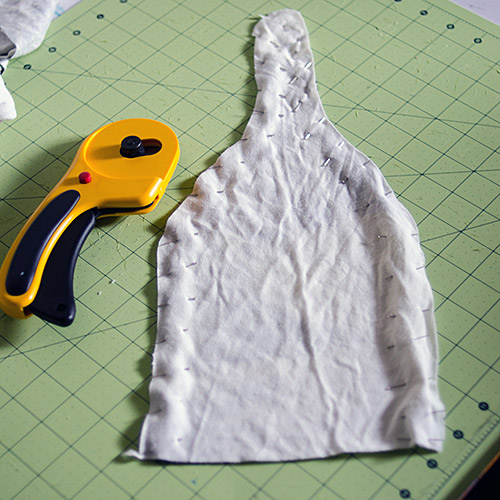
Use ballpoint pins if you have them. They don’t poke holes in jersey fabric; rather, they go between the loops of the knit.
5. From there, place the hat opening around your sewing machine’s sleeve-hemming arm by pulling the storage compartment off your sewing machine and fitting the hat opening over what’s left.
Backstitch a couple of times, then zig-zag stitch the rough cut edge all the way around the hat opening — don’t worry if it isn’t perfect because it’ll be hidden once the hat is rolled up — then turn the hat right-side out.
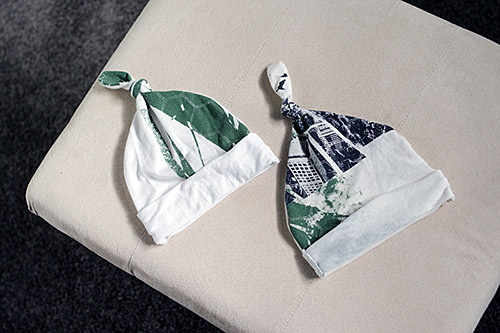
6. Roll up the hat from the bottom twice and then press it. If you use an iron, put a clean piece of fabric on top of the hat before pressing — not all jersey knit fabric is iron-friendly. When the band it looks like a good width, line up your side seams with the rolled up part’s side seams, then stitch those together with either a straight stitch or even just a handstitched X at the top of the band, so that it won’t unfold on the baby’s head. You’ll do this on both the left and right sides of the hat.
7. Knot the long goofy part, and that’s it!
If you don’t like the rough edge (I didn’t like it on the dino hat, because the thread didn’t match), pinch the seam into the hat as shown below, and stitch a straight line across the inside. You’ll have a nice clean seam on the outside with no thread showing. You can trim the excess away if you like, or just leave it.
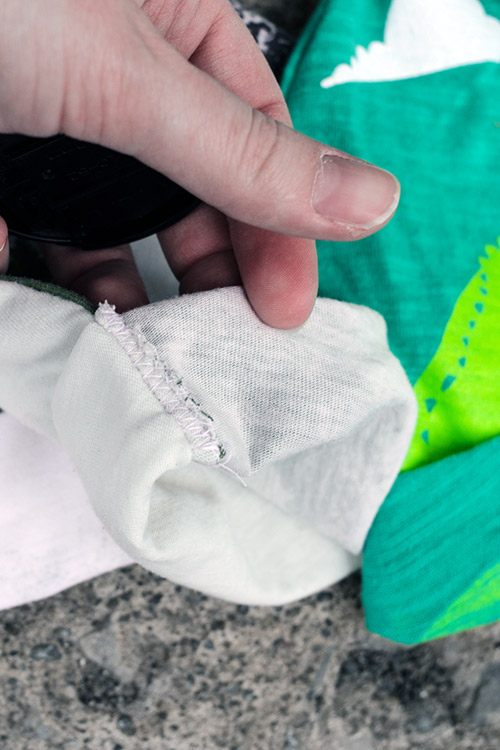
Rough seam? You can fix that.
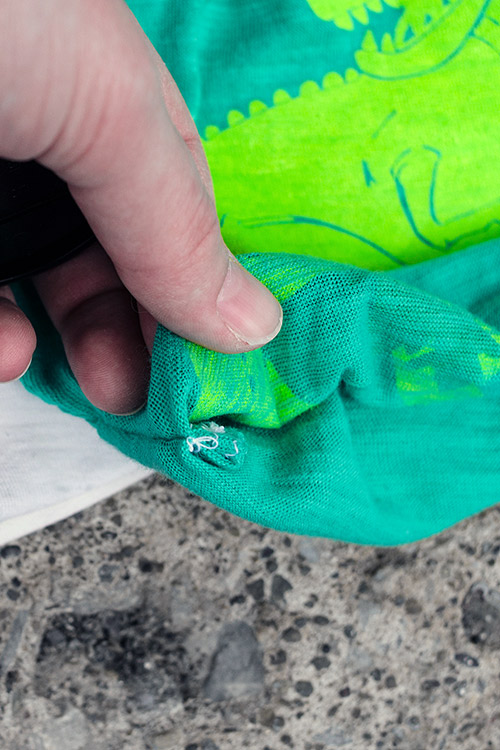
Pinch the seam inward, then use a straight stitch inside to create ‘clean seam’ outside. Your thread will probably coordinate with the hat and be neater, unlike mine in this example photo.
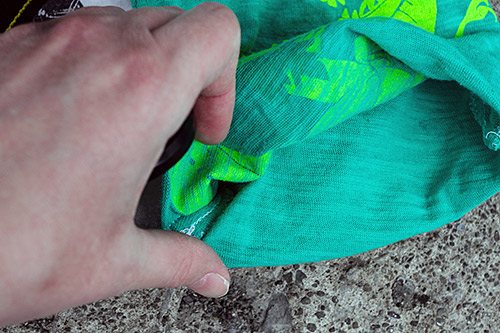
An inside view of the ‘clean seam’. You can trim excess bulk off the seam if you like.
Voila! Hats! For a baby!
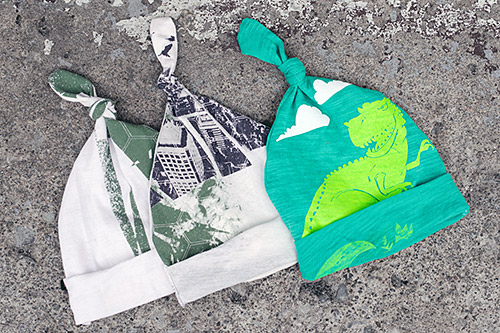
Hope you try this out and love the results! I’d love to see what you come up with.


Pingback: 39 weeks: Here's the nursery! | commatose.ca